Building a 150 KB web blog in V & SQLite
Hello,
In this guide, we'll build a simple web blog in V.
The benefits of using V for web:
- A safe, fast, language with the development agility of Python or Ruby and the performance of C.
- Zero dependencies: everything you need for web development comes with the language in a 1 MB package.
- Very small resulting binaries: the blog we'll create in this tutorial is about 150 KB.
- Easy deployments: a single binary file that even includes the precompiled templates.
- Runs on the cheapest hardware with minimum footprint: for most apps a $3 instance is enough.
- Fast development without any boilerplate.
Note V and Vweb are at a very early stage and are changing rapidly.
The code is available here.
Installing V
wget https://github.com/vlang/v/releases/latest/download/v_linux.zip
unzip v_linux.zip
cd v
sudo ./v symlink
Now V should be globally available on your system.
On macOS use
v_macos.zip, on Windows -v_windows.zip. If you use a BSD system, Solaris, Android, or simply want to install V from source, follow the simple instructions here: https://github.com/vlang/v#installing-v-from-source
Install SQLite development dependency
If you don't have it already installed, look at the
sqlite README for instructions.
Creating a new Vweb project
V projects can be created anywhere and don't need to have a certain structure:
mkdir blog
cd blog
touch blog.v
First, let's create a simple hello world website:
// blog.v
module main

import vweb

struct App {
    vweb.Context
}

fn main() {
    app := App{}
    vweb.run(app, 8081)
}

['/index']
pub fn (mut app App) index() vweb.Result {
    return app.text('Hello world from vweb!')
}
Run it with
v run blog.v
Running a Vweb app on http://localhost:8081 ...
Vweb helpfully provided a link, open http://localhost:8081/ in your browser:
The App struct is an entry point of our web application. If you have experience
with an MVC web framework, you can think of it as a controller. (Vweb is
not an MVC framework however.) It embeds the vweb Context object, that's why we get access
to methods like .text().
As you can see, there are no routing rules. The index() action handles the / request by default.
Vweb often uses convention over configuration and adding a new action requires
no routing rules either:
// blog.v
import vweb
import time

fn (mut app App) time() vweb.Result {
    return app.text(time.now().format())
}

TIP: run the following command to live-reload the server:
v watch run blog.v
The .text(string) method returns a plain text document with the provided
text, which isn't frequently used in websites.
HTML View
Let's return an HTML view instead. Create index.html in the same directory:
and update our index() action so that it returns the HTML view we just created:
// blog.v
pub fn (mut app App) index() vweb.Result {
    message := 'Hello, world from Vweb!'
    return $vweb.html()
}

Good, now we have an actual HTML page.
The V template language is similar to C#'s Razor: @message prints the value
of message.
You may notice something unusual: the message variable created in the index()
action is automatically available in the view.
It's another feature of Vweb to reduce the boilerplate in your web apps.
No need to create view models just to pass data, or use an unsafe and untyped
alternative, like C#'s ViewBag["message"].
Making all action variables available in the view may seem crazy,
but V is a language with pure functions by default, and you won't be able
to modify any data from a view. <b>@foo.bar()</b> will only work if the bar() method
doesn't modify foo.
The HTML template is compiled to V during the compilation of the website,
that's done by the $vweb.html() line.
($ always means compile time actions in V.) offering the following benefits:
Great performance, since the templates don't need to be compiled on every request, like in almost every major web framework.
Easier deployment, since all your HTML templates are compiled into a single binary file together with the web application itself.
All errors in the templates are guaranteed to be caught during compilation.
Fetching data with V ORM
Now let's display some articles!
We'll be using V's built-in ORM and a SQLite database. (V ORM will also support MySQL, Postgre, and SQL Server soon.)
Add a SQLite handle to App:
// blog.v
import db.sqlite
import vweb

struct App {
    vweb.Context
pub mut:
    db sqlite.DB
}
In fn main() we'll connect to a database.
Code in the main() function is run only once during app's startup, so we are going
to have one DB connection for all requests. This improves the performance of the web application,
since a DB connection doesn't have to be set up for each request.
// blog.v
fn main() {
    mut app := App{
        db: sqlite.connect(':memory:')!
    }
    sql app.db {
        create table Article
    }!

    first_article := Article{
        title: 'Hello, world!'
        text: 'V is great.'
    }

    second_article := Article{
        title: 'Second post.'
        text: 'Hm... what should I write about?'
    }

    sql app.db {
        insert first_article into Article
        insert second_article into Article
    }!
    vweb.run(app, 8080)
}
Create a new file article.v:
// article.v
module main

struct Article {
    id    int    [primary; sql: serial]
    title string
    text  string
}

pub fn (app &App) find_all_articles() []Article {
    return sql app.db {
        select from Article
    } or { panic(err) }
}
Notice that the Article structure conforms to the same structure and naming as
the database table in the creation SQL statement. Also we need to add ORM decorators
to our primary key to let it know that it is the primary key and it should auto-increment
Let's fetch the articles in the index() action:
// blog.v
pub fn (app &App) index() vweb.Result {
    articles := app.find_all_articles()
    return $vweb.html()
}
Finally, let's update our view:
<body>
  @for article in articles
  <div>
    <b>@article.title</b> <br />
    @article.text
  </div>
  @end
</body>
v run .

That was very simple, wasn't it?
The built-in V ORM uses a syntax very similar to SQL. The queries are built with V. For example, if we only wanted to find articles with ids between 100 and 200, we'd do:
// article.v

return sql app.db {
    select from Article where id >= 100 && id <= 200
} or { panic(err) }
Retrieving a single article is very simple:
// article.v
pub fn (app &App) retrieve_article() ?Article {
    return sql app.db {
        select from Article limit 1
    } or { panic(err) }[0]
}
V ORM uses V's optionals for single values, which is very useful, since bad queries will always be handled by the developer:
// article.v
article := app.retrieve_article() or {
    return app.text('Article not found')
}
Adding new articles
Create new.html:
// article.v
import vweb

[post]
pub fn (mut app App) new_article(title string, text string) vweb.Result {
    if title == '' || text == '' {
        return app.text('Empty text/title')
    }
    article := Article{
        title: title
        text: text
    }
    println(article)
    sql app.db {
        insert article into Article
    } or { panic(err) }
    return app.redirect('/')
}
The decorator on our function tells vweb that it is an HTTP POST type operation.
This time Vweb parses the HTTP form and assigns correct values with correct types to
function arguments, which saves a lot of typing (e.g. title := app.form['title'] is
not necessary).
We need to update index.html to add a link to the "new article" page:
<a href="/new">New article</a>
Next we need to add the HTML endpoint to our code like we did with index.html:
['/new']
pub fn (mut app App) new() vweb.Result {
    return $vweb.html()
}
Re-running this code will now allow us to add new posts to our blog endpoint
JSON endpoints
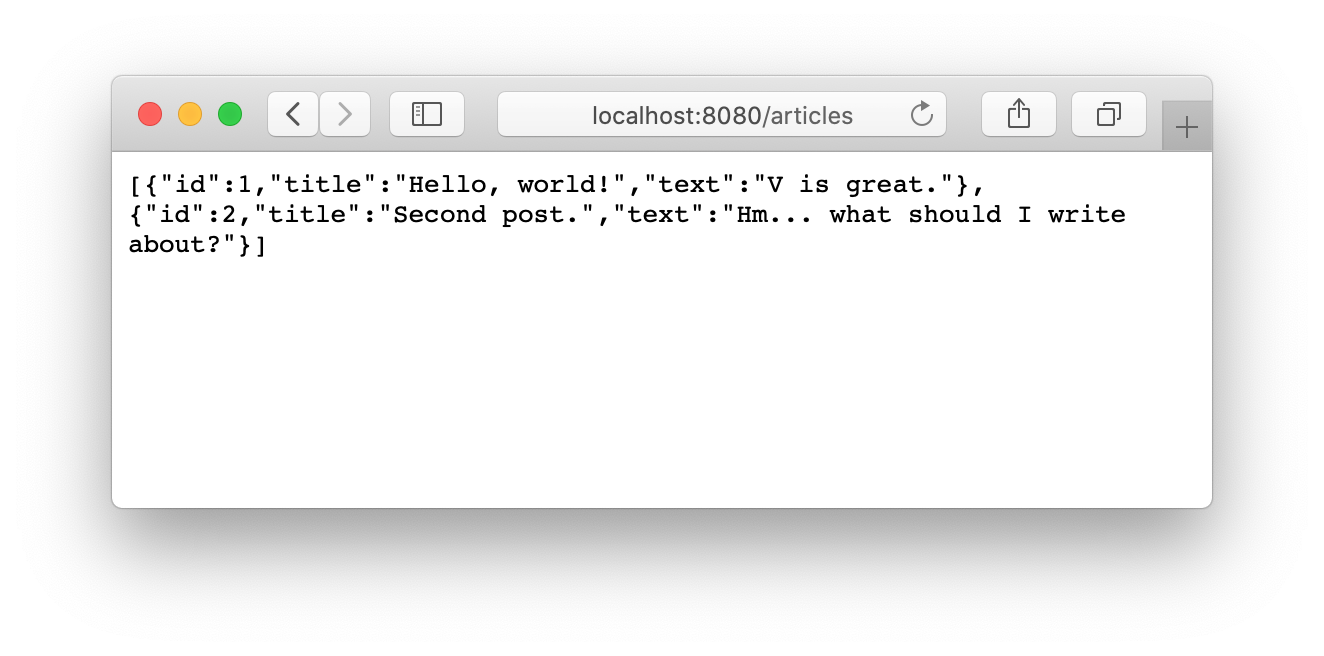
This tutorial used the traditional server-side rendering. If you prefer to render everything on the client or need an API, creating JSON endpoints in V is very simple:
// article.v
import vweb

['/articles'; get]
pub fn (mut app App) articles() vweb.Result {
    articles := app.find_all_articles()
    return app.json(articles)
}
Persistent data
If one wants to persist data they need to use a file instead of memory SQLite Database. Replace the db setup code with this instead:
db: sqlite.connect('blog.db')!
As we can see it attempts to open a file in the current directory named blog.db.
If the database file doesn't exist it will create it. The second command will
create the table Article if none exists already. Now every time the
app is run you will see the articles created from the previous executions
To be continued...
For an example of a more sophisticated web app written in V, check out Vorum: https://github.com/vlang/vorum